

~A classic holiday recipe~
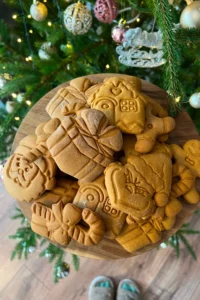
Over the years, I’ve made countless honey cookie recipes, but last year I finally landed on one that keeps the cookies soft all the time. Not just on day one. Usually, honey cookies tend to harden quickly and lose that initial soft, comforting bite – but not these. On top of that, they hold their shape beautifully while baking, so your cookie cutters actually stay visible.
Before you start, make sure to read the mistakes and tips a little further down – they really matter for the final result.
You can also use coconut sugar instead of brown sugar, and butter instead of coconut oil, depending on what you prefer or have at home. The cookies can be made in any shape you like, and you can even sandwich them with chocolate or jam – which honestly makes them even more irresistible.
The Recipe:
Total Time: 93 min | Servings: 25-30 depends | Difficulty: Medium
Ingredients:
- 2 eggs
- 1 tsp vanilla extract
- ¼ tsp salt
- 170 g honey
- 100 g brown sugar (or coconut blossom sugar)
- 120 g coconut oil (or grass-fed butter)
- 1 tsp baking soda
- 420 g all-purpose flour
Instructions:
- In a large bowl or with a stand mixer, beat the eggs, vanilla extract, and salt until combined. Set aside.
- Add the honey, sugar, and coconut oil to a saucepan or small pot. Place over medium heat and cook, stirring often, until the sugar is completely dissolved. Continue cooking until the mixture starts to simmer. Cook for 3 more minutes, stirring constantly and making sure the mixture does not burn.
- Remove from the heat and immediately add the baking soda. Stir well until fully incorporated. The mixture will foam and rise.
- Very slowly pour the hot mixture into the egg mixture in a thin stream, mixing constantly with a mixer until smooth and homogeneous.
- Add the flour in several additions, continuing to mix until a dough forms.
- Turn the dough out onto a lightly floured surface and knead by hand until smooth and soft. If the dough is too sticky, add a little more flour while kneading.
- Divide the dough into two parts and wrap each one in plastic wrap or parchment paper.
- Refrigerate for at least 1 hour.
- Preheat the oven to 180°C (350°F), top and bottom heat, no fan.
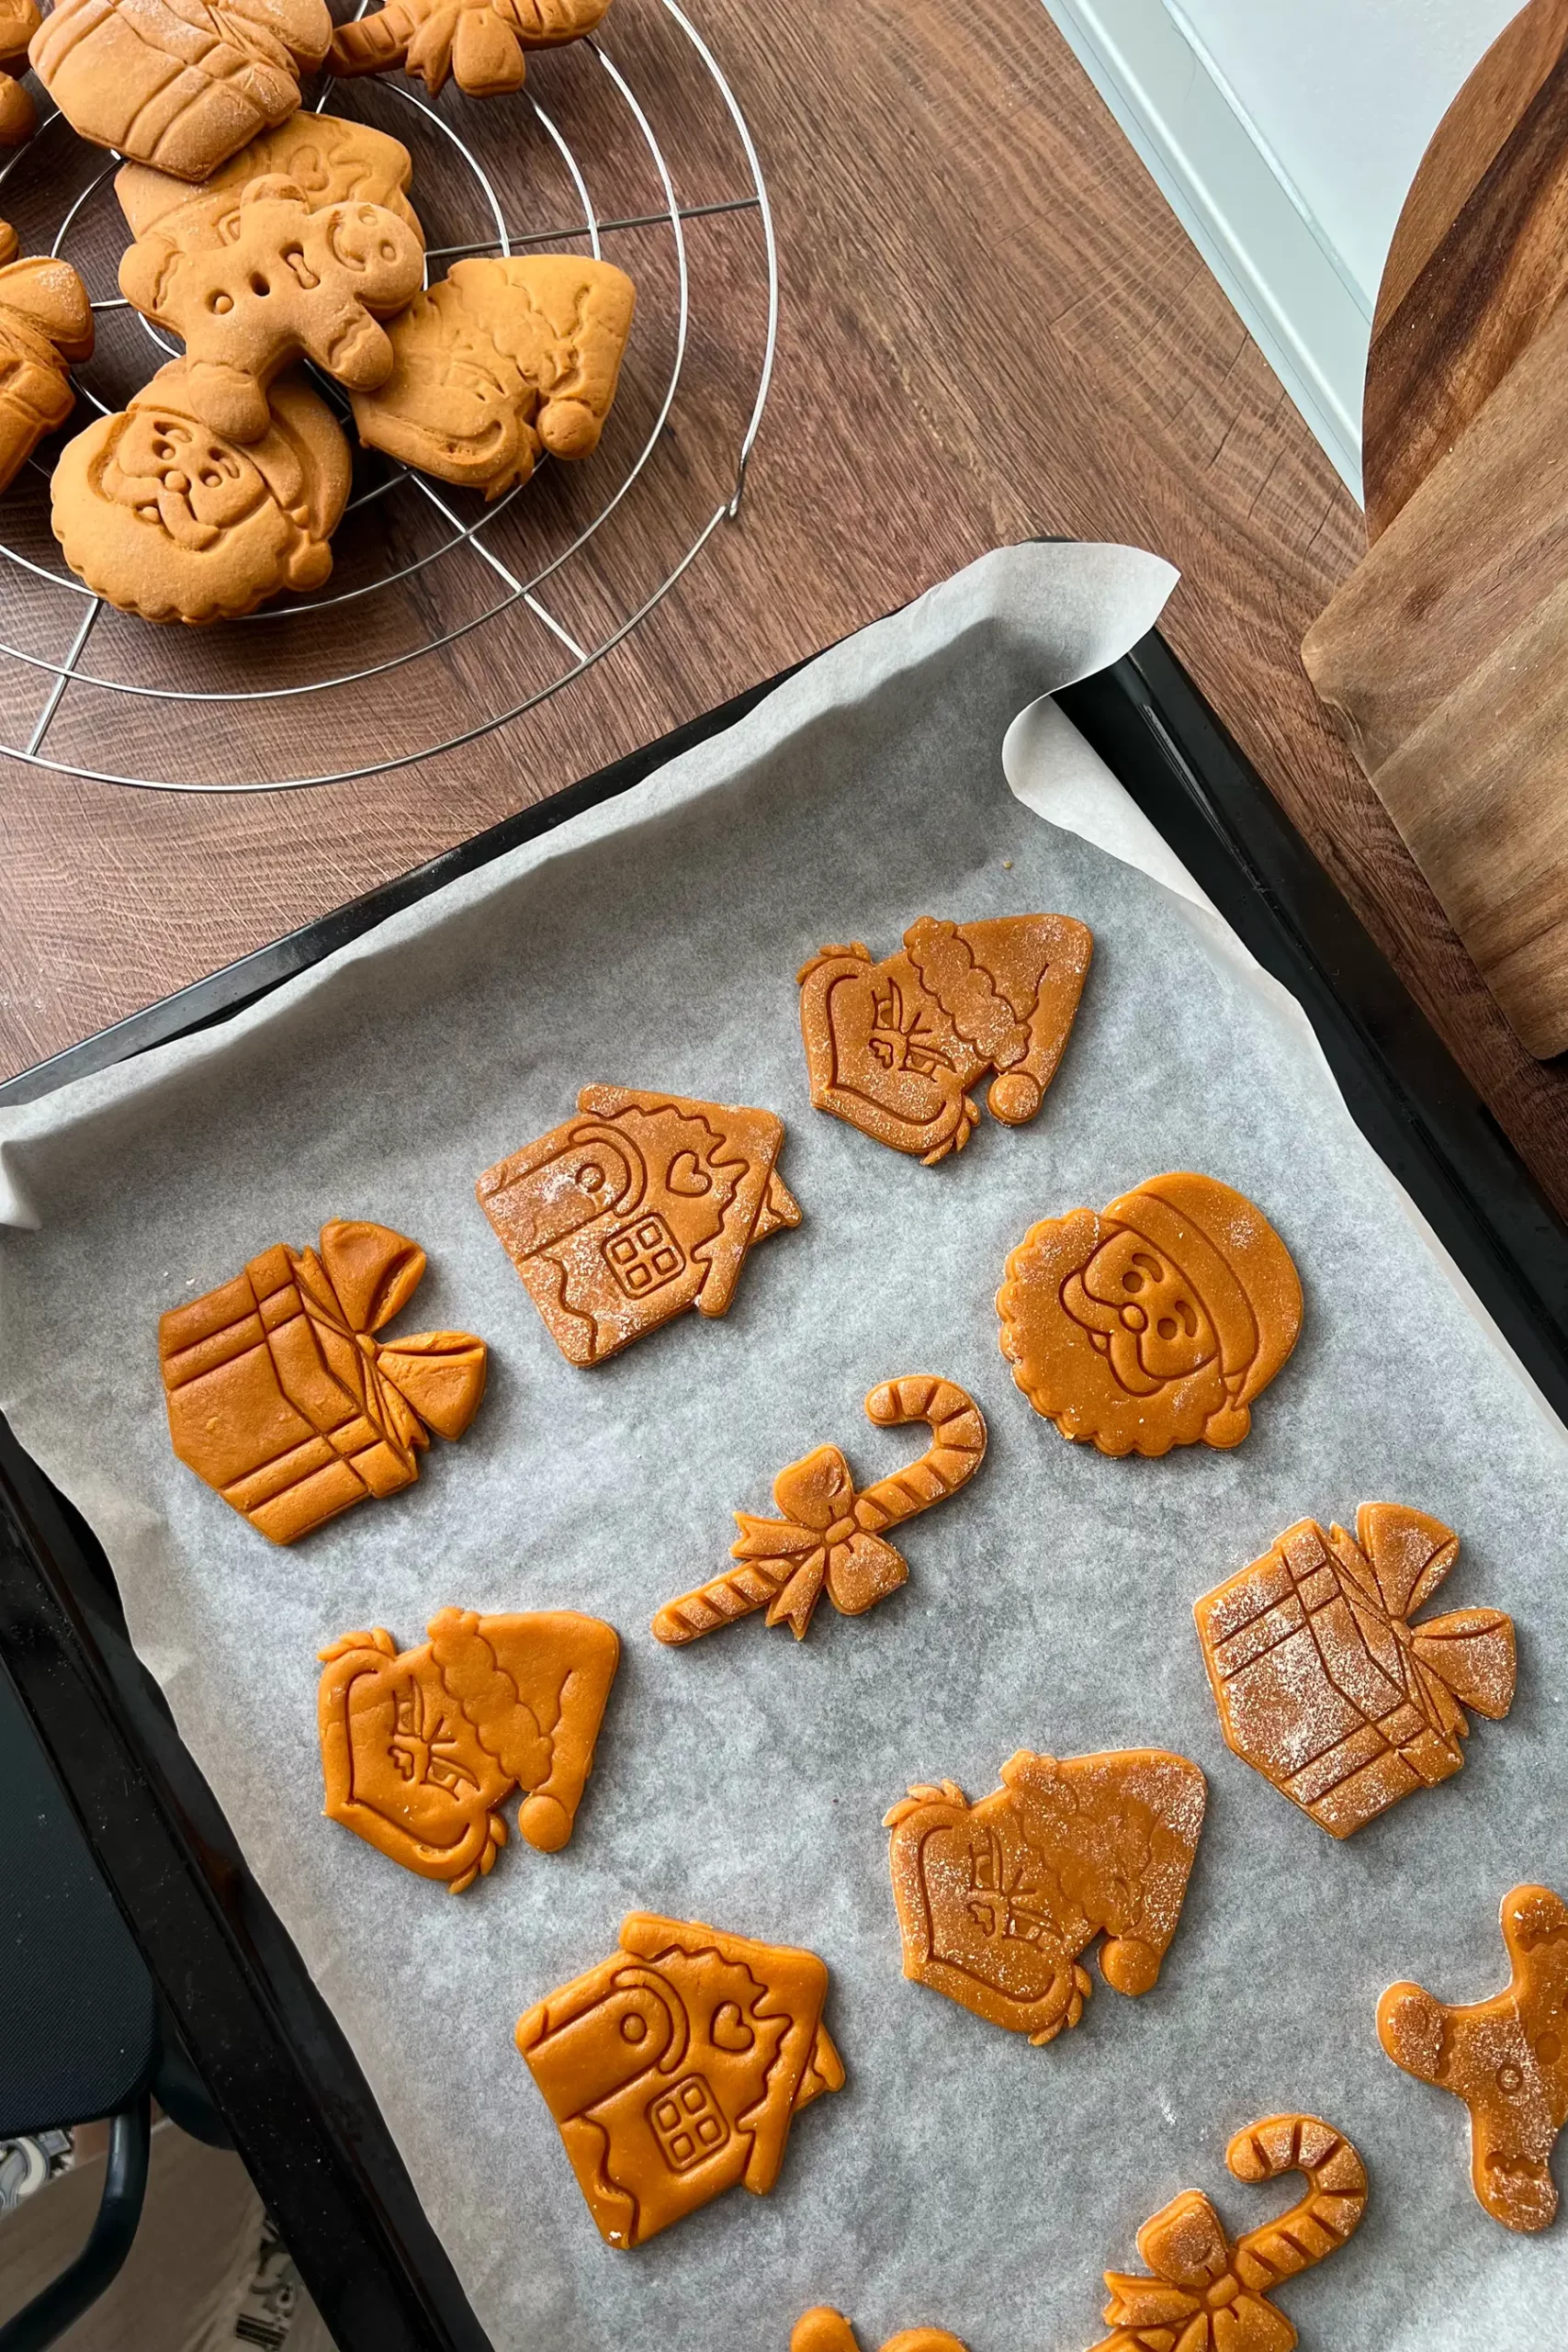
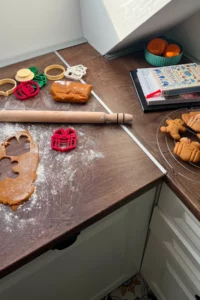
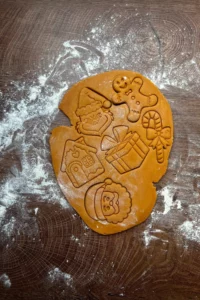
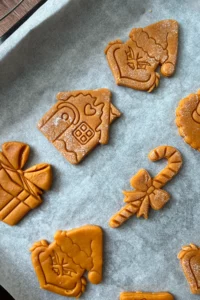
- Roll out the dough on parchment paper, a silicone mat, or a lightly floured surface to about 6 mm thickness. Lightly flour your favorite cookie cutters and cut out shapes.
- Arrange the cookies on a baking tray lined with parchment paper, leaving enough space between them, as they will puff slightly while baking.
- Bake for 8–10 minutes, or until the edges turn lightly golden brown. Do not overbake, or the cookies will become dry.
- Let the cookies set on the baking tray for about 5 minutes, then transfer to a wire rack to cool completely.
Mistakes I Made and What I Learned
This year, for the first time, I whisked the eggs by hand instead of using a mixer. That slowed me down a bit when I started adding the melted butter and sugar. Because my eggs were cold straight from the fridge , the sugar began to harden and turn into little caramel bits. That’s why it’s very important to work quickly and stir continuously, so the caramel breaks down and incorporates properly. Of course, be careful not to burn yourself!
It’s definitely easier if someone helps you by holding and pouring the saucepan while you mix. But if the mixture does start to harden in the eggs, don’t panic — quickly remove the hardened pieces from the bowl and keep going, this time more carefully.
This is a crucial step where the sugar fully melts and the cookies end up wonderfully soft, so don’t skip it and don’t add the ingredients before they’ve been heated together on the stove. It also adds a beautiful caramel flavor, on top of the honey.
The second mistake: I forgot to take the dough out of the fridge early enough to soften. My fridge is quite strong, and I had left the dough overnight. So make sure to take it out 30 minutes to 1 hour before rolling it out – it will make your life much easier.
And the third mistake: I didn’t roll the first batch of cookies thin enough, so they puffed up more than expected. With the next batches, I made sure to roll the dough to the right thickness, and the shapes held much better during baking. That said, even if you make them a bit thicker, it’s absolutely fine – you’ll still end up with delicious, lovely honey cookies!
Happy holidays, I love you all
And don’t forget to share these cookies with all your favorite people!
Lunch
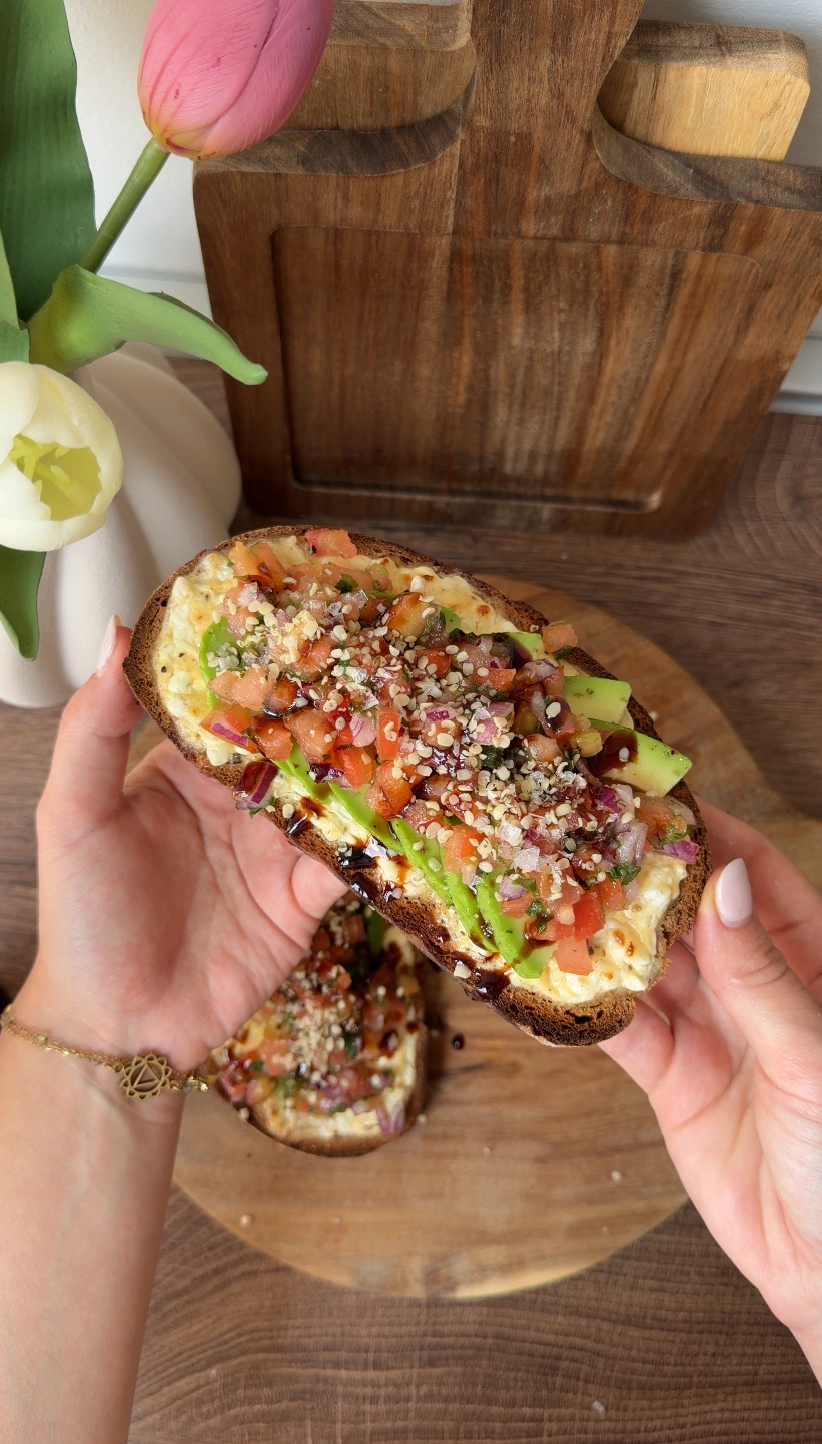
Balanced Avo & Cottage Cheese Toast
This toast is “balanced” because it naturally covers all the key macronutrients and food roles in one meal, without leaning too heavily
Recipes
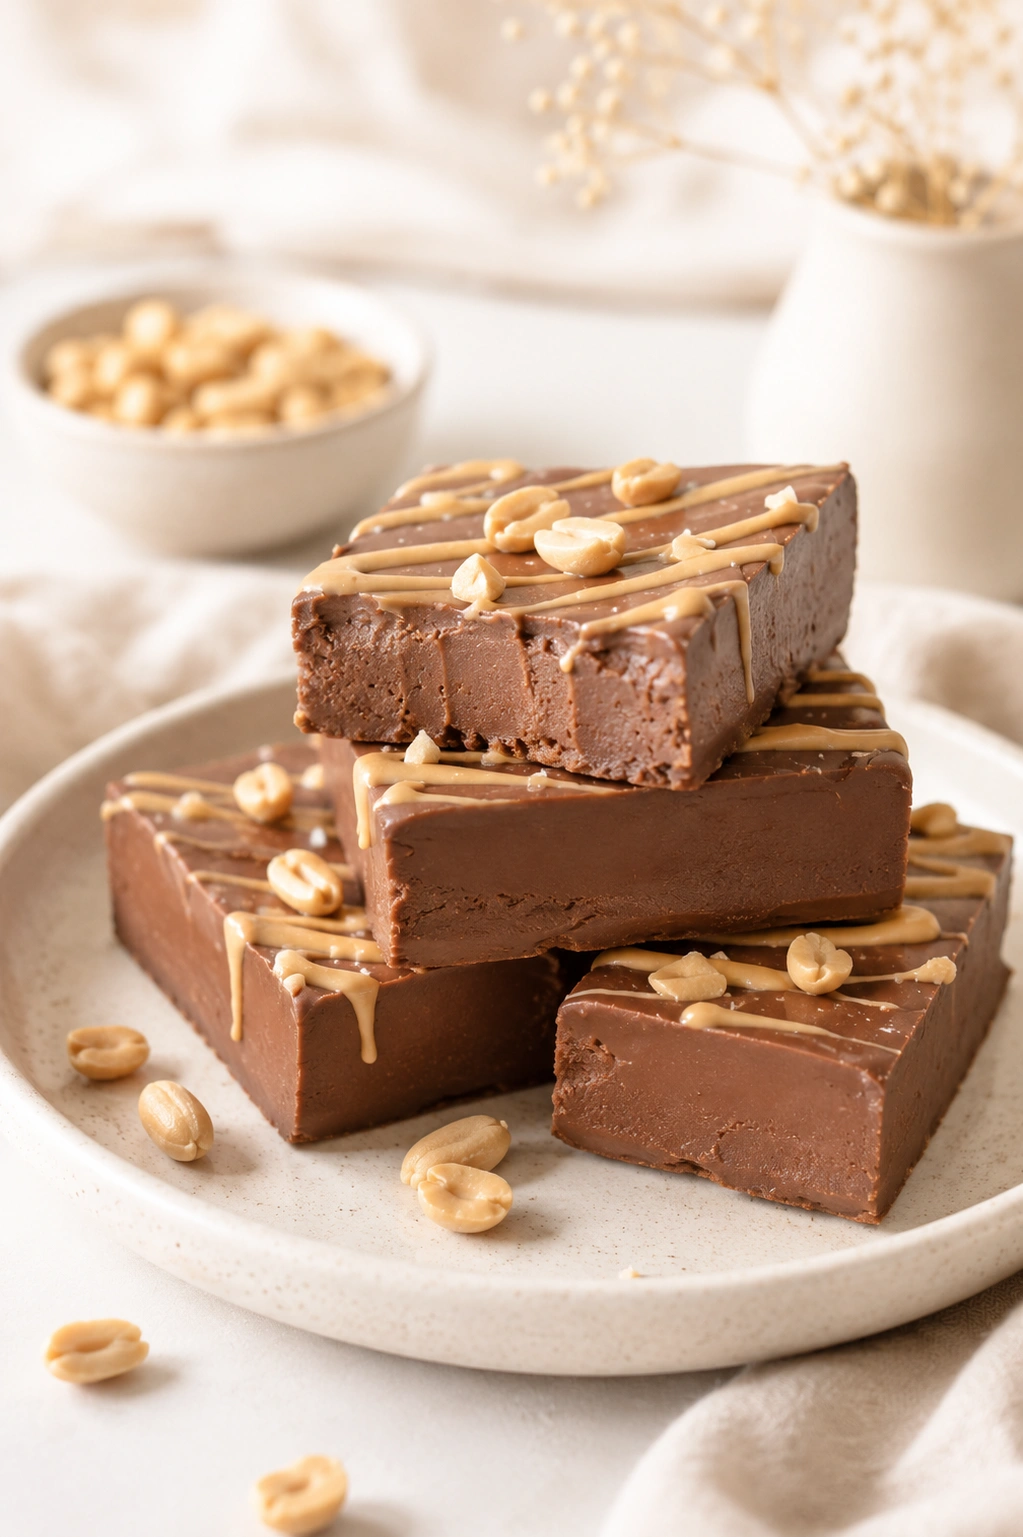
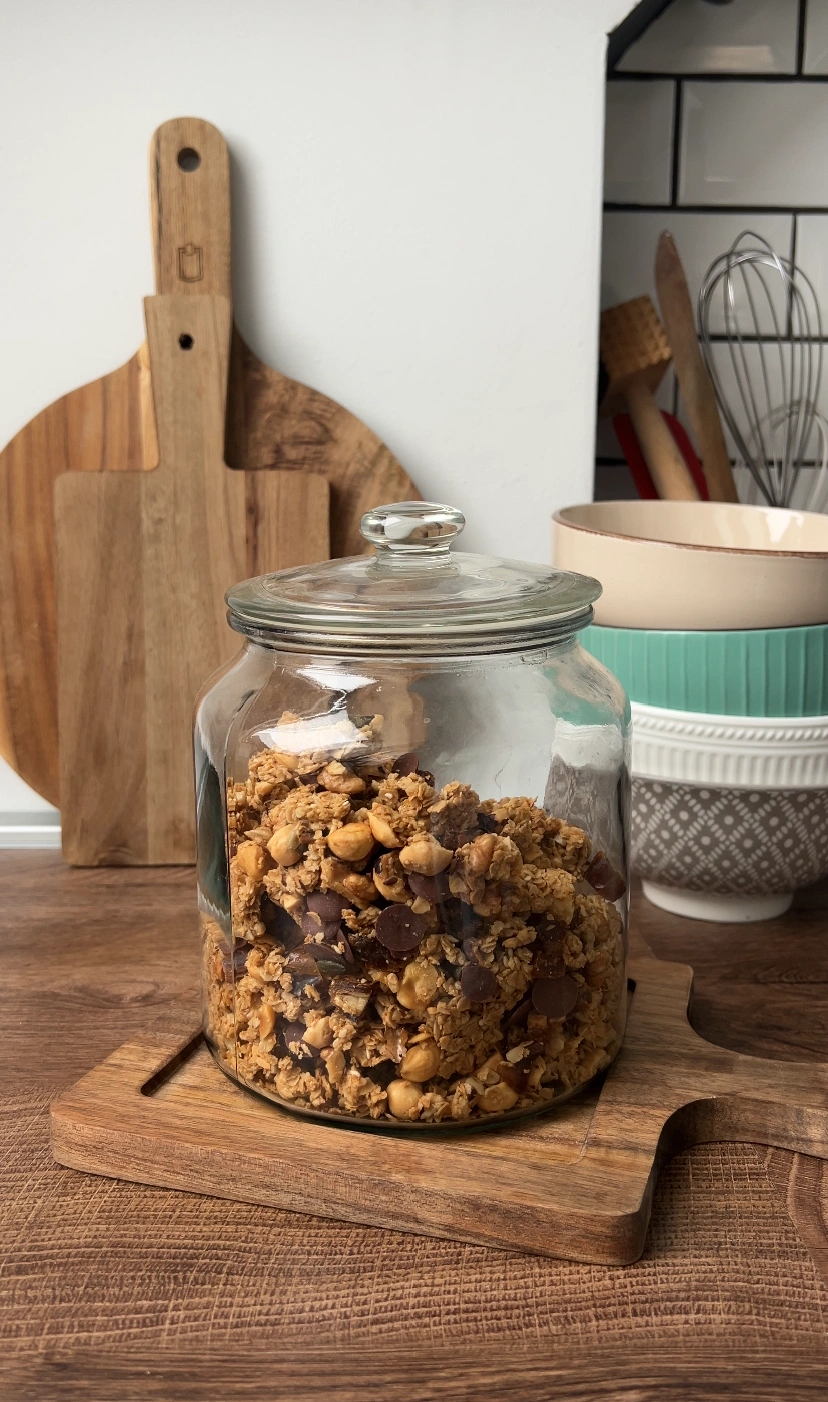
Salty Peanut Snack (High-Protein Recipe)
You can prepare it in advance, store it in your fridge, and have a satisfying, high-protein snack on hand whenever you need
Breakfast
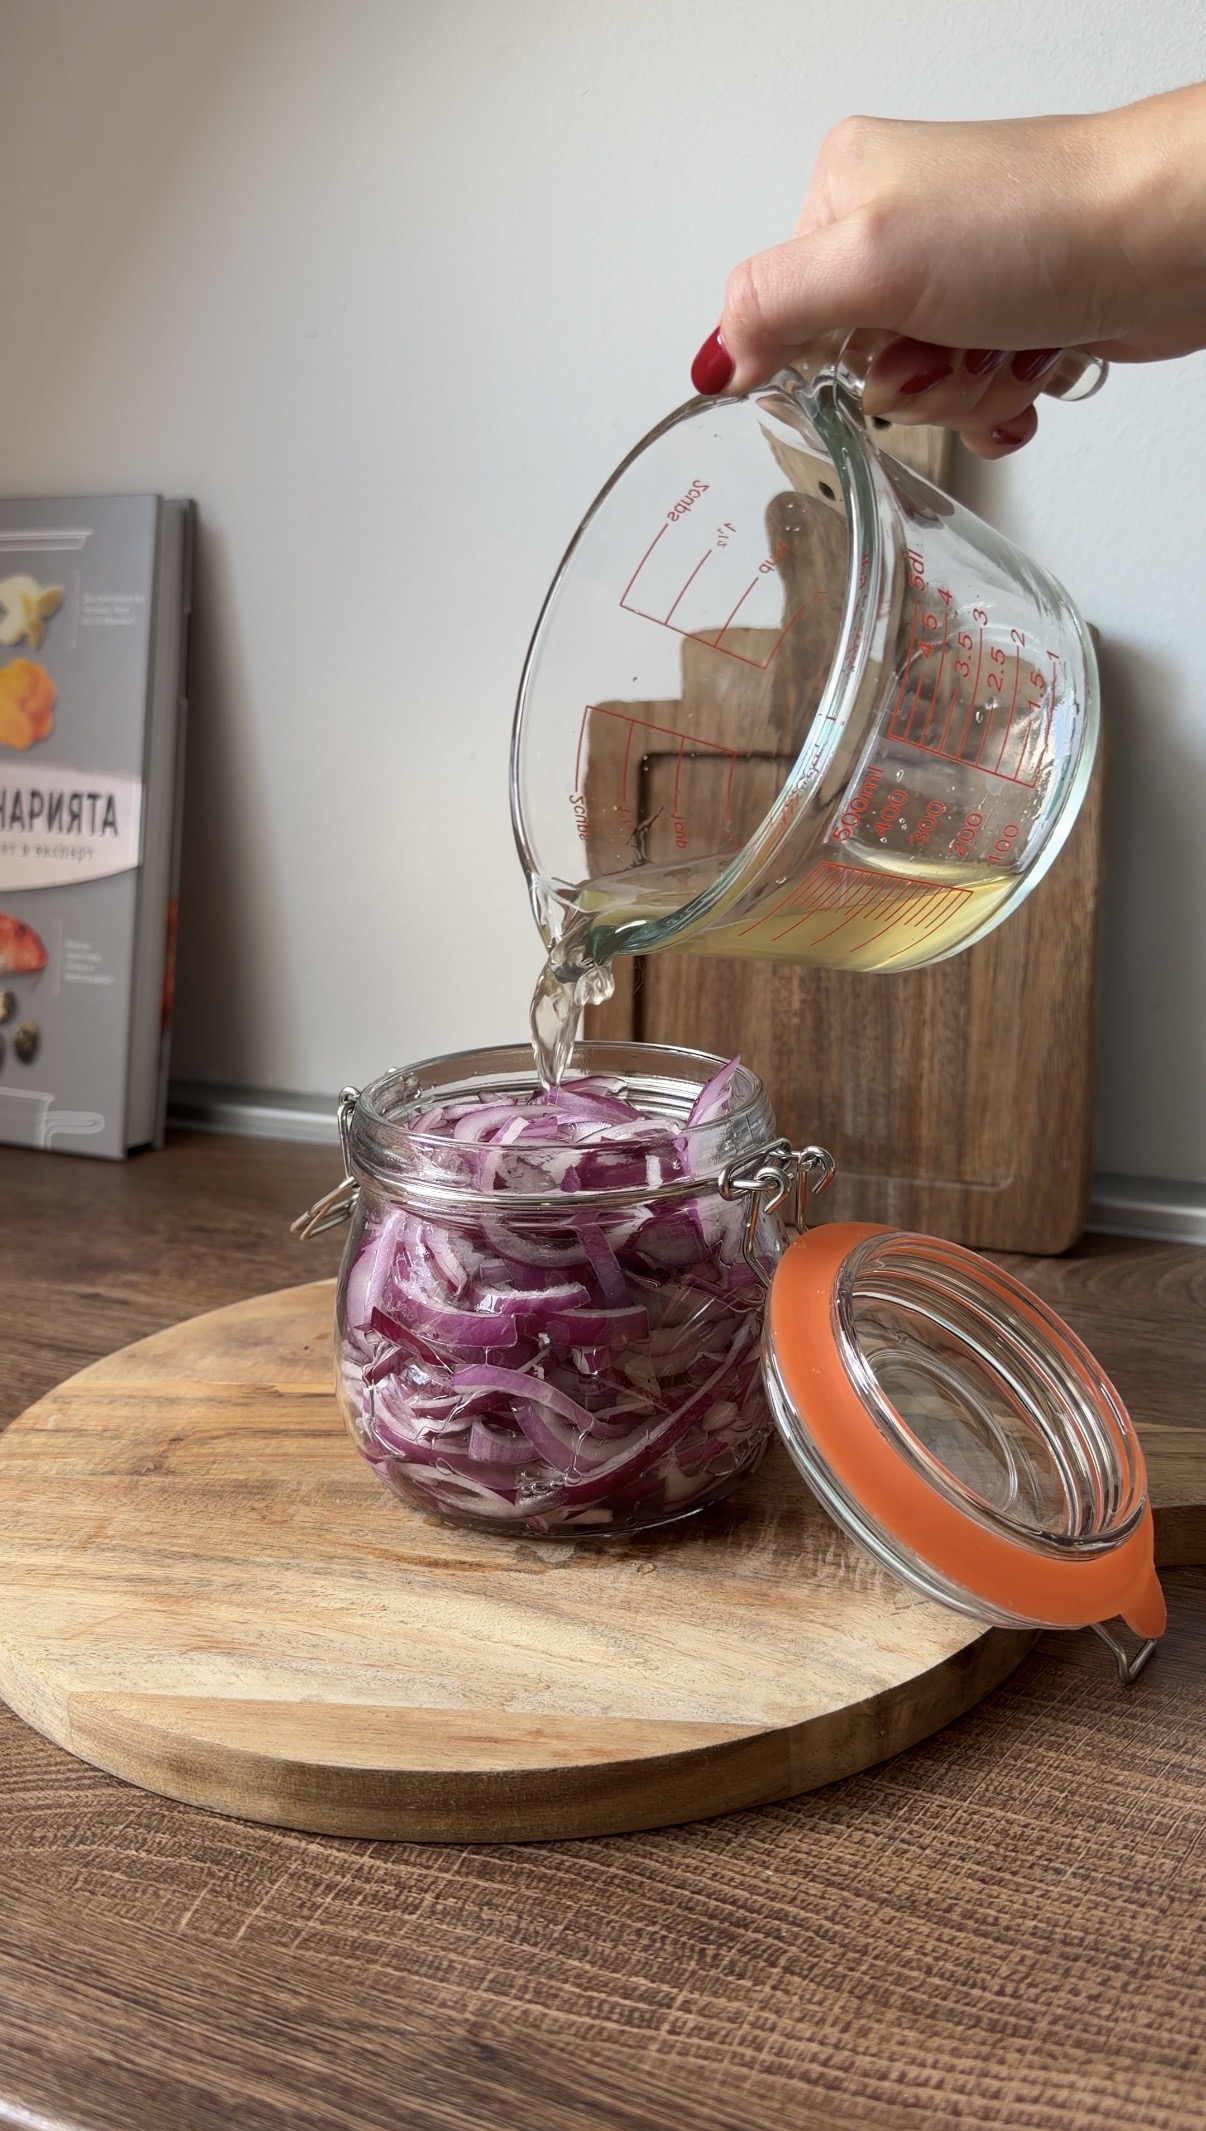
Pickled Red Onions
Gut healthy recipe! Lately, I’ve been a bit obsessed with foods that are gut healthy, and pickled red onions are one of