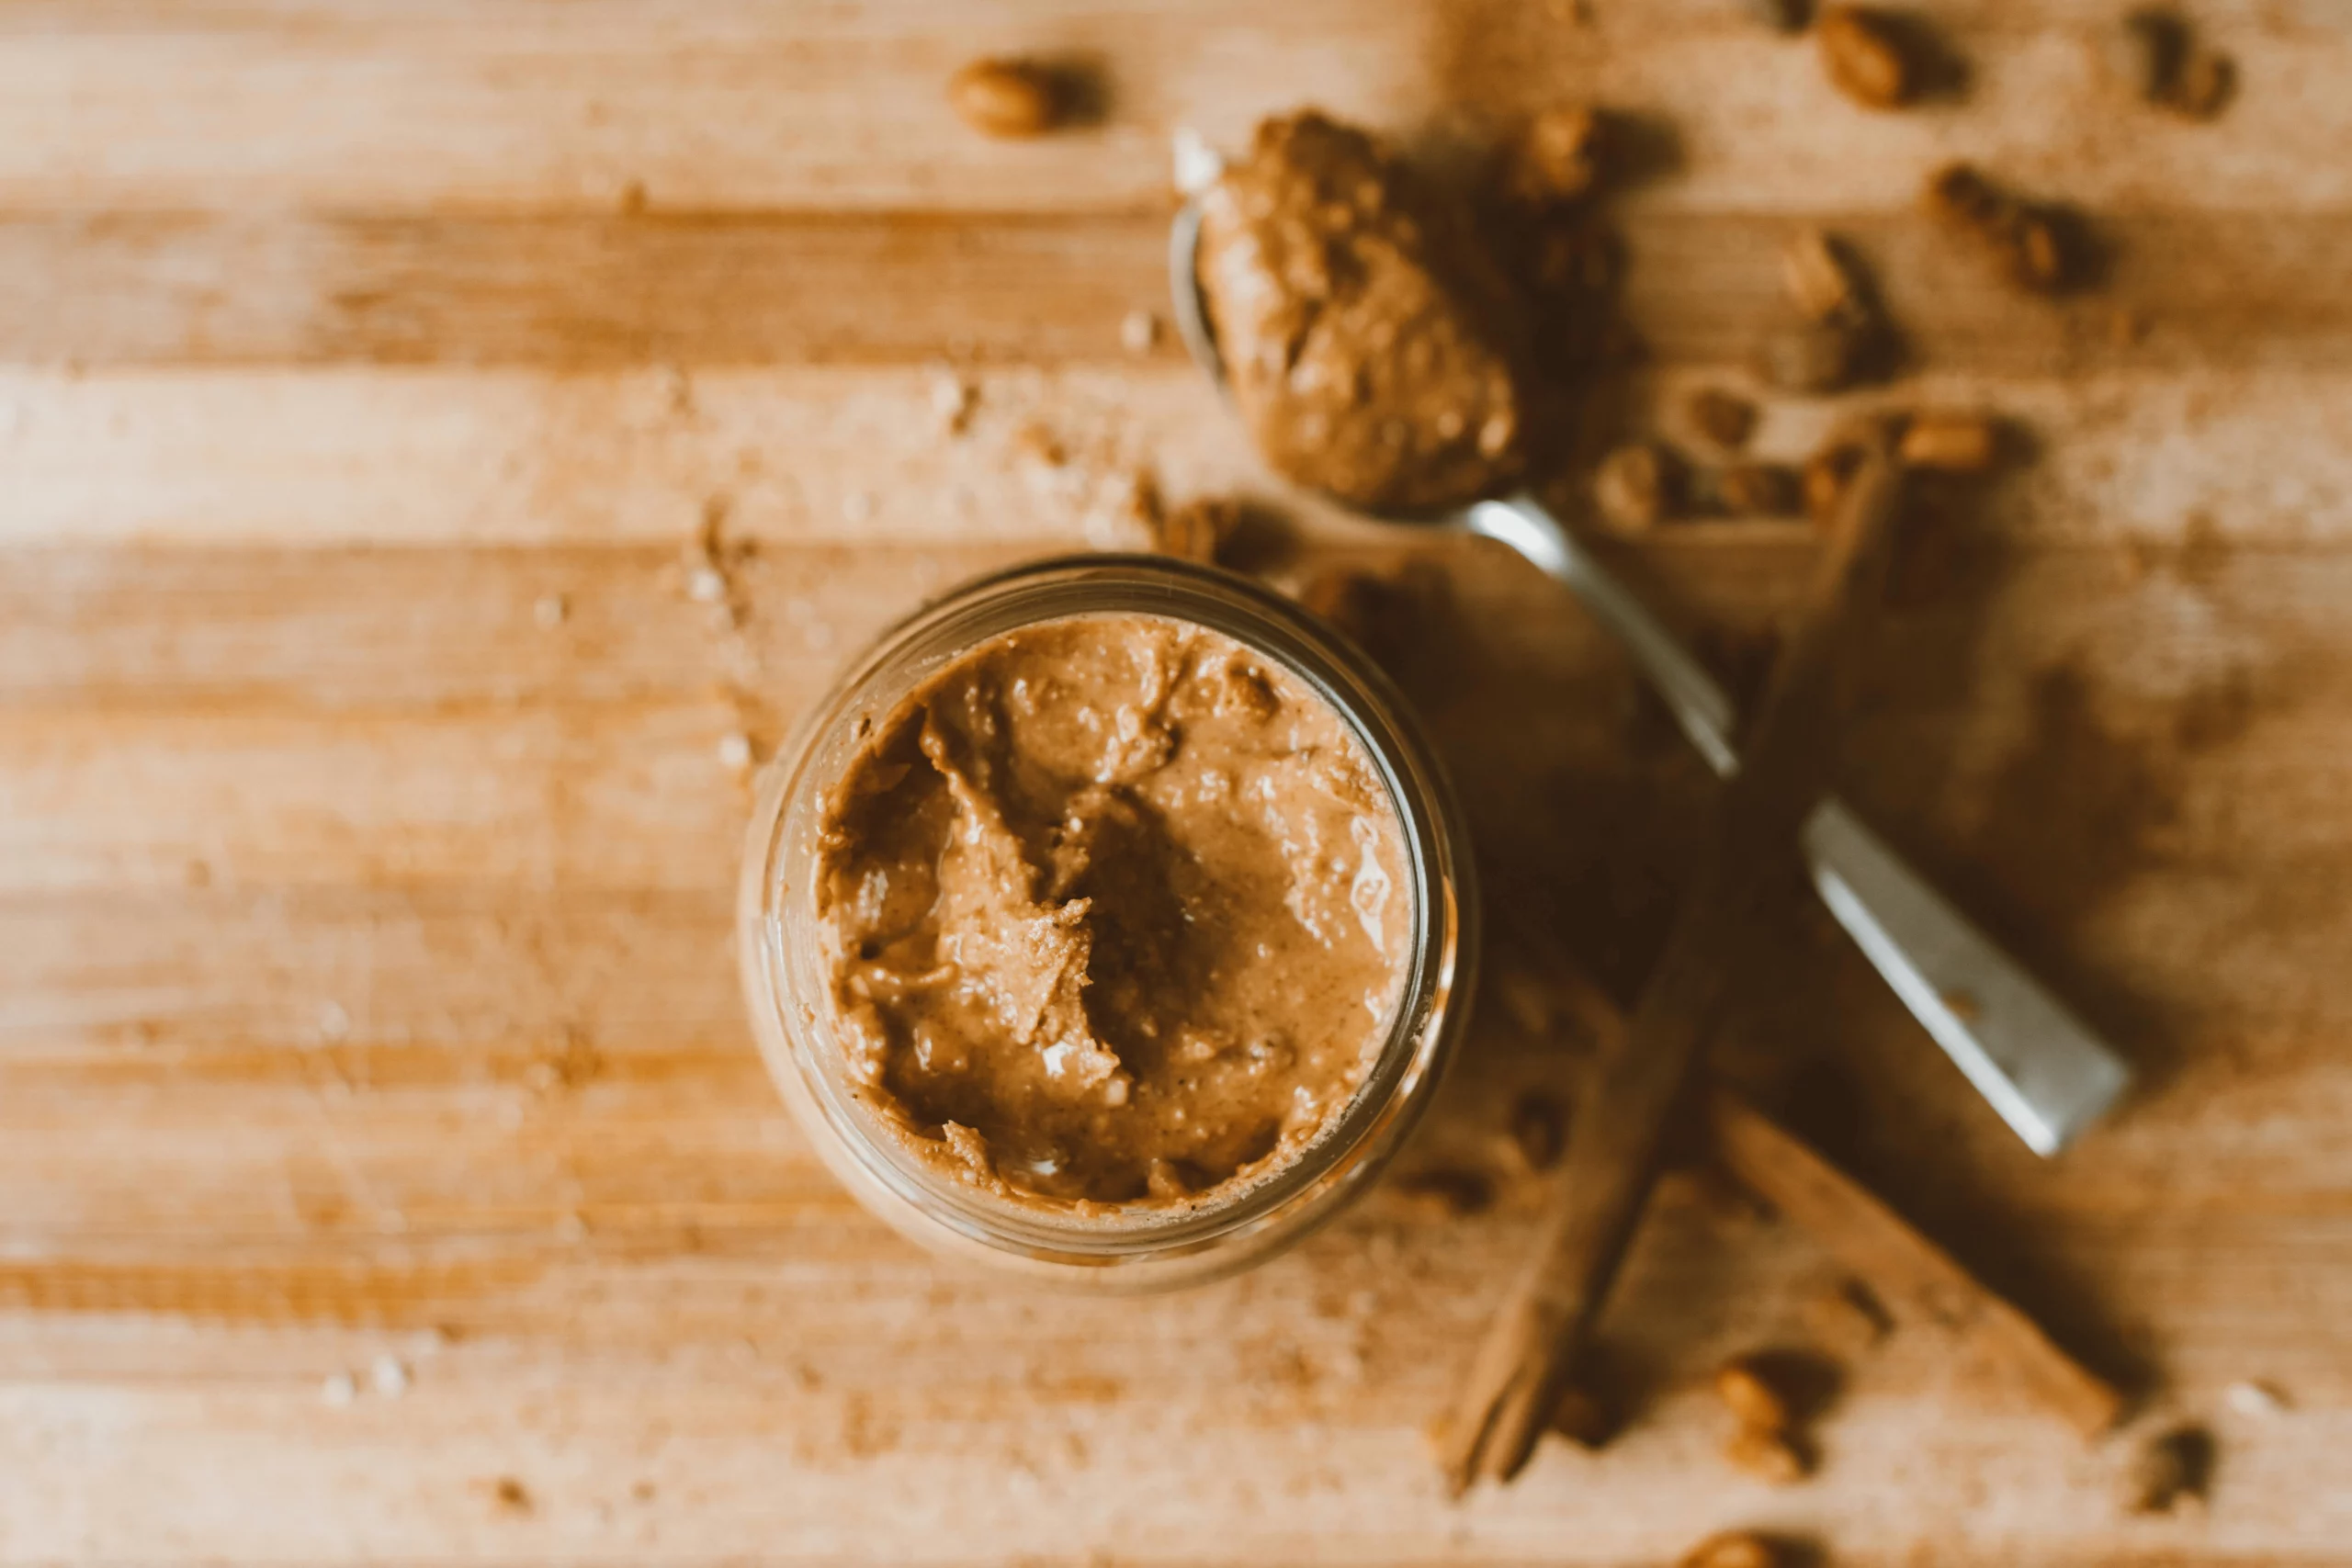
Why Homemade Nut Butter Matters?
I will never stop yapping about this one!! I’m pretty sure the processed nut butters are slowly killing us – just check the label and you’ll see all the added sugars, hydrogenated oils, preservatives, and fillers that have absolutely no business being in your spread. That’s why making nut butter at home is such a game-changer.
For anyone who wants to take control of what they eat, store-bought nut butters often contain added sugars, hydrogenated oils, preservatives, and unnecessary fillers. When you make it yourself, you use only the ingredients you want – pure, whole nuts and optional healthy addins.
Health benefits are a major reason people switch to homemade. You can boost nutrition by adding flax seeds, hemp hearts, or chia seeds for extra fiber, protein, and omega-3s – without compromising taste. You can also adjust the level of salt or sweetness based on your dietary needs.
Flavor and freshness are also far superior. Homemade nut butter has a rich, toasted aroma and a deeper, more authentic nut taste that’s often lost in commercial processing. You can customize the texture – smooth or chunky – and experiment with creative blends like almond-hazelnut butter with cocoa, or cashew butter with cinnamon and vanilla.
Finally, homemade nut butter is more sustainable and budget-friendly. You can buy nuts in bulk, avoid plastic packaging, and reduce food waste by making only what you’ll use. It’s an environmentally conscious choice that supports a cleaner kitchen and a healthier lifestyle.
Whether you’re someone with dietary sensitivities, a parent looking for clean ingredients, or simply a food lover seeking better flavor and texture, homemade nut butter is an easy and worthwhile upgrade to your pantry.


How to recognise the real butter?
When buying real nut butter, always check the ingredient list—there should ideally be just one ingredient: the nut itself (like “100% almonds” or “100% peanuts”), and maybe a pinch of salt. Avoid any added sugars, sweeteners, or oils, especially hydrogenated or palm oil. Natural oil separation on top is actually a good sign that the butter hasn’t been tampered with – just give it a stir. Words like “unsweetened” or “natural” can help guide you, but always read the label to be sure. A real nut butter will have a more natural, sometimes runny texture, not overly glossy or thick, which often indicates added stabilizers.
How to Make Homemade Nut Butter
Ingredients:
- 2 to 3 cups of raw or roasted nuts (e.g., almonds, cashews, peanuts, hazelnuts, walnuts, pecans)
Optional additions:
- Salt: 1/4 to 1/2 teaspoon (fine sea salt or Himalayan salt work well)
- Natural sweeteners: 1 to 2 teaspoons honey, maple syrup, or agave syrup
- Oil (only if needed): 1 to 2 teaspoons coconut oil or a neutral oil (e.g., sunflower or avocado)
- Flavorings: 1/2 teaspoon vanilla extract, cinnamon, cocoa powder, or nutmeg
Seeds:
- 1 to 2 tablespoons hemp seeds (adds protein and omega-3s)
- 1 tablespoon ground flax seeds (adds fiber and healthy fats)
- 1 tablespoon chia seeds (adds texture and nutritional boost)
Superfoods or mix-ins:
- Cacao nibs or melted dark chocolate
- Matcha powder
- Maca powder
- Collagen or protein powder (unflavored or flavored)
Texture elements (for crunchy varieties):
- Coarsely chopped toasted nuts
- Rolled oats
- Toasted coconut flakes
- Puffed quinoa
Equipment
- Food processor or high-speed blender
- Rubber spatula
- Baking sheet (if roasting)
- Airtight jar or container for storage
Instructions:
- To make homemade nut butter, begin with 2 to 3 cups of your chosen nuts—almonds, cashews, peanuts, hazelnuts, or any other variety. If you’re aiming for deeper flavor and easier blending, it’s best to roast them first. Spread the nuts on a baking sheet and roast them in a preheated oven at 175°C (350°F) for 8 to 12 minutes, stirring halfway through. Allow them to cool slightly before blending.
- Place the roasted nuts into a high-speed blender or food processor. Start blending at medium to high speed. The nuts will first break down into a coarse meal, then begin clumping as their natural oils release. With time and patience – usually 7 to 10 minutes, the mixture will transform into a smooth, creamy nut butter. It’s important to pause occasionally to scrape down the sides of the container, ensuring an even blend throughout the process.
- Once the nut butter reaches a smooth consistency, you can enhance it with optional ingredients. Add a pinch of sea salt for balance, a spoonful of honey or maple syrup for sweetness, or a touch of cinnamon or vanilla extract for flavor. You can also stir in nutrient-rich additions like hemp seeds, ground flax seeds, or chia seeds. If the mixture feels too thick or dry, incorporate a small amount of oil – no more than a teaspoon at a time – until the desired texture is achieved.
- If you use roasted hazelnuts and blend them with melted dark chocolate and a touch of sweetener, you’ll end up with a rich, homemade chocolate hazelnut spread similar to Nutella.
- Once your nut butter is ready, transfer it to a clean, airtight jar. It will keep at room temperature for up to two weeks or in the refrigerator for up to a month. Natural separation may occur over time – just stir before each use.


Additional Tips
- Always roast nuts for better flavor and easier blending
- Add seeds and powders only after the base nut butter is fully blended. Adding too early can interfere with emulsification
- Sweeteners and chocolate should be added after blending to avoid separation
- For a crunchy version, reserve some chopped nuts and stir them in after blending
- If using chia seeds, note that they may slightly thicken the nut butter over time
- Blend in batches if your appliance isn’t powerful enough to handle large quantities
- Let your machine rest to avoid overheating.

12 ideas to try
Nut butter isn’t just for toast – it’s a creamy, dreamy staple that works beautifully in both sweet and savory dishes. Whether you’re swirling it into your oats, blending it into dressings, or sneaking it into baked goods, this versatile spread adds flavor, texture, and a nutrient boost to almost anything. Here are some of my favorite ways to enjoy it throughout the day:
Sweet options
- On toast or rice cakes – with banana, berries, or a drizzle of honey.
- Swirled into oatmeal or overnight oats – adds creaminess and richness.
- In smoothies – for extra creaminess and a protein boost.
- As a dip – for apple slices, pear, or dates.
- Drizzled over yogurt bowls – pairs beautifully with granola and fruits.
- In baking – cookies, brownies, muffins, or energy bars.
- In homemade granola – binds everything together and adds flavour.
Savory ideas
- In salad dressings or sauces – mix with soy sauce, lime, and garlic for a quick peanut-style dressing.
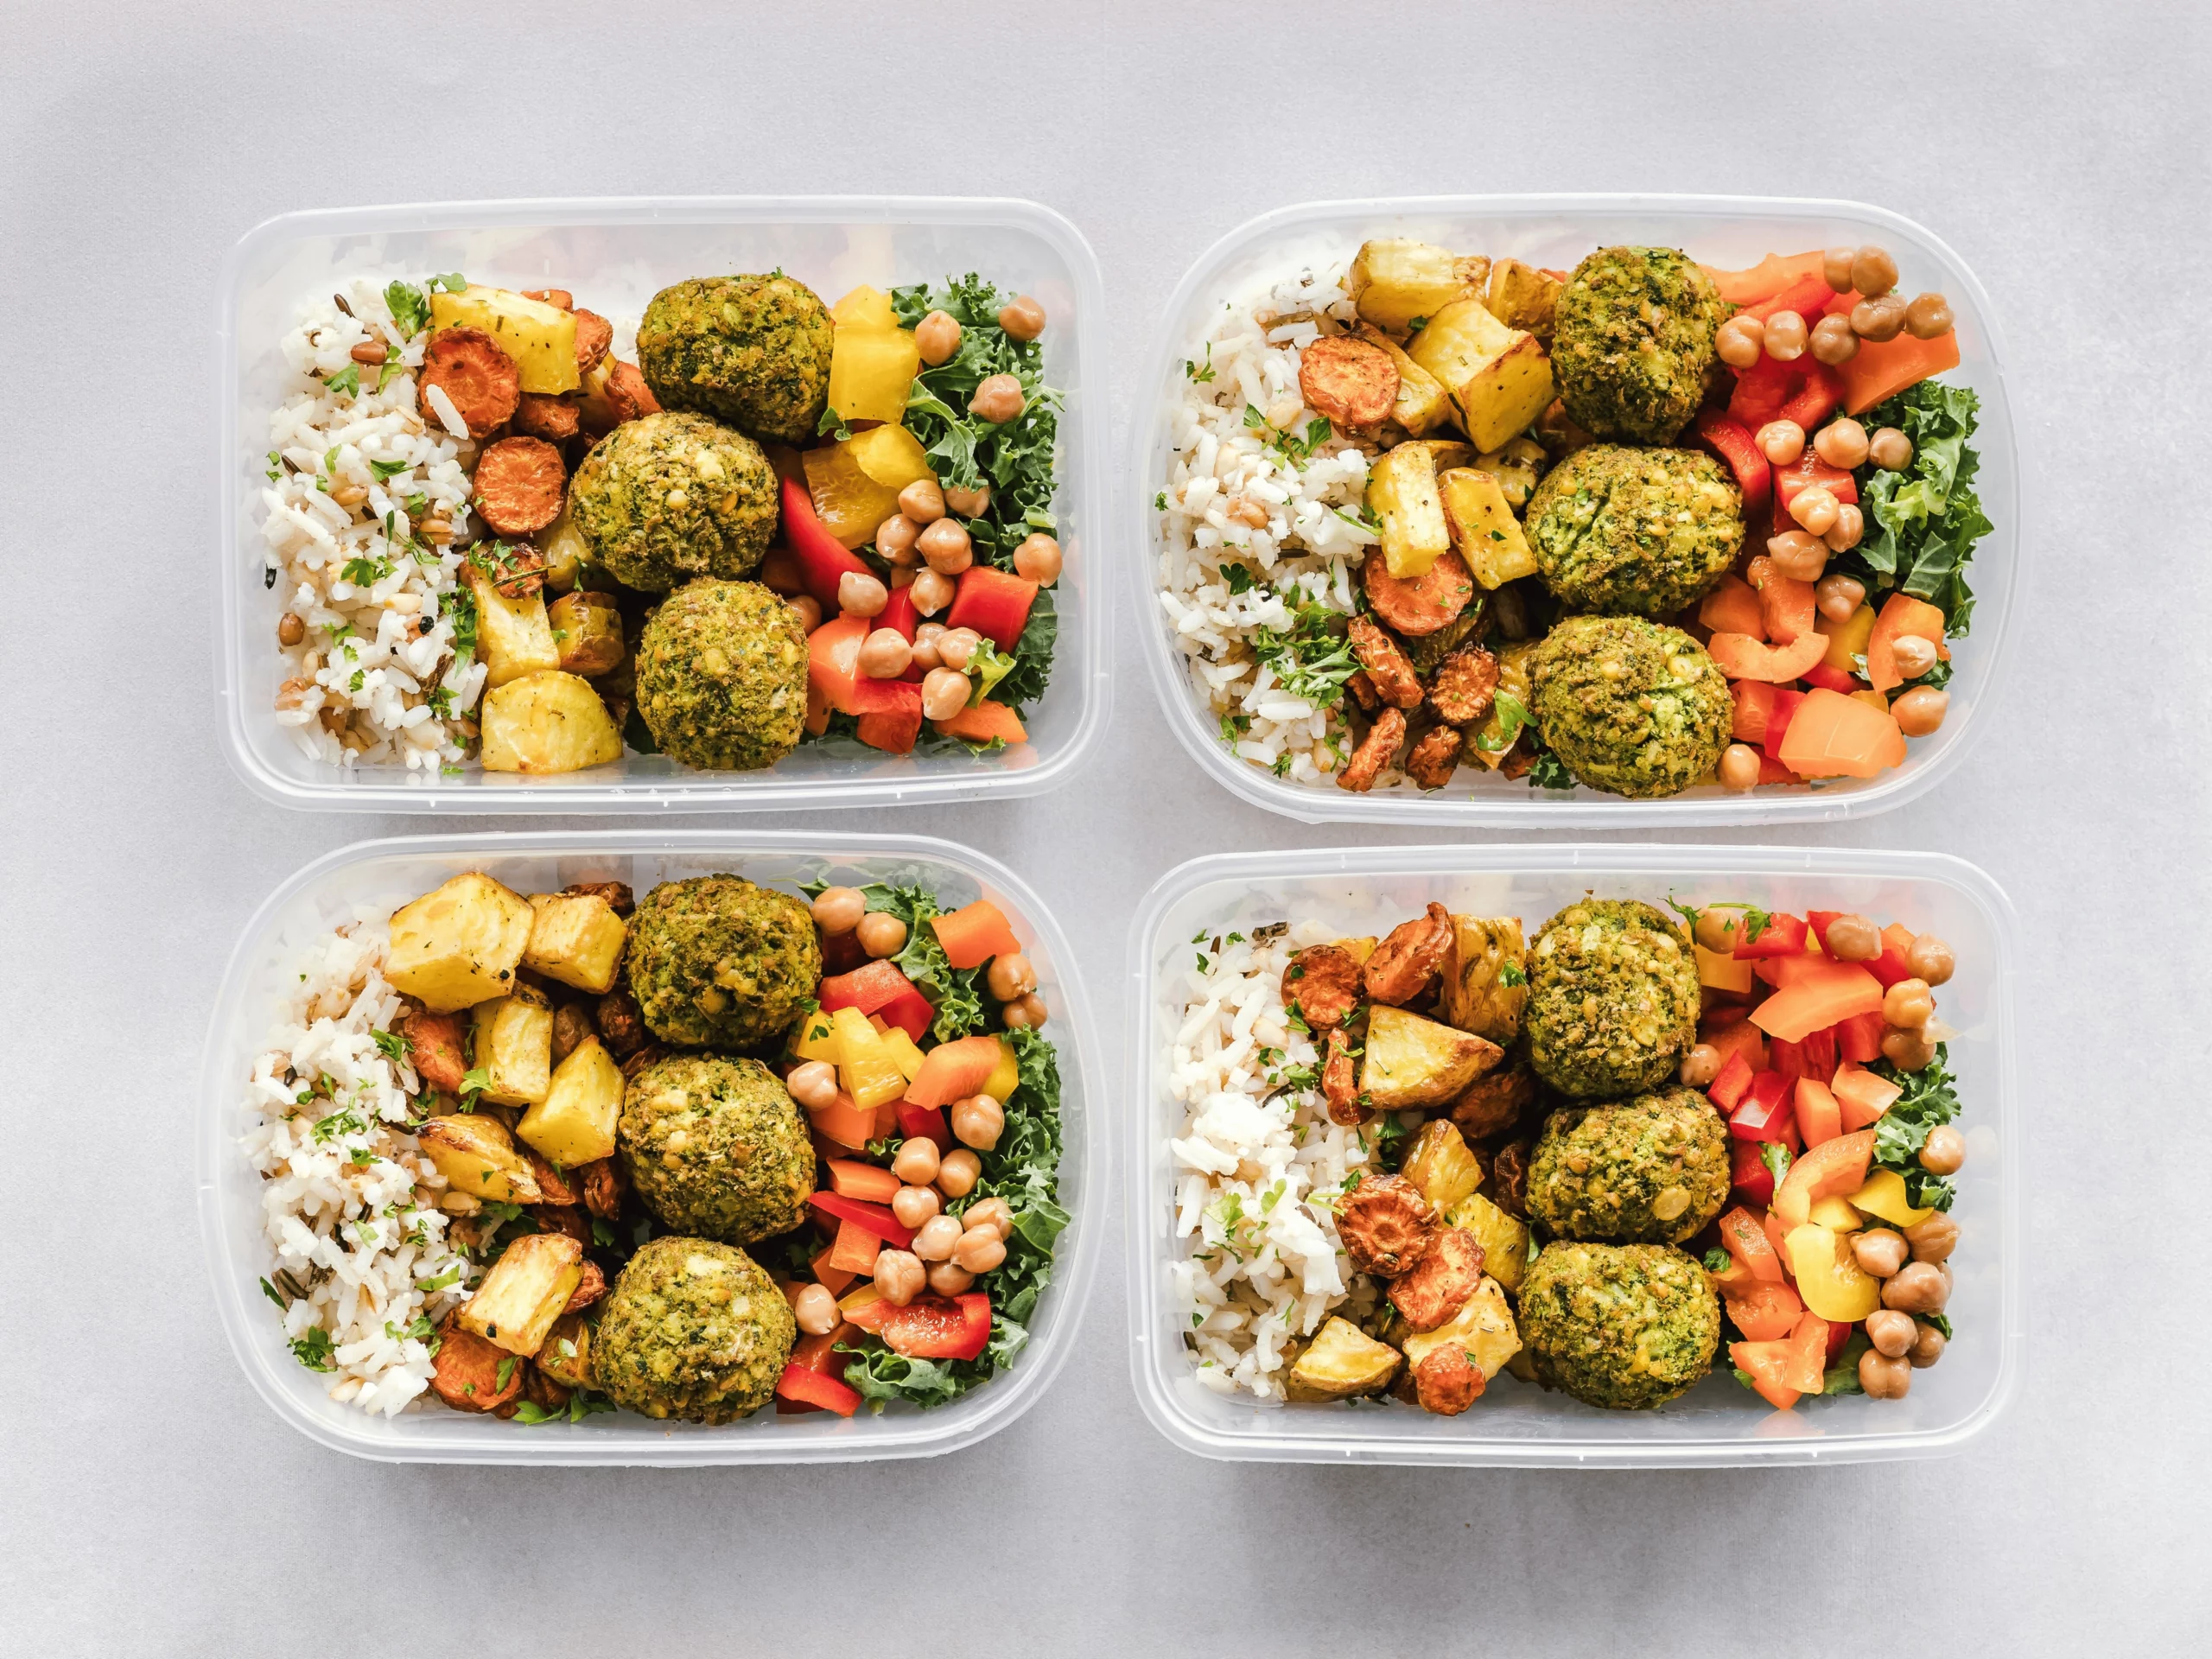
- As a topping for roasted veggies – especially carrots, sweet potatoes, or broccoli.
- In stir-fries – makes an amazing creamy base with coconut milk.
- On grilled chicken or tofu – use it in a marinade or as a finishing drizzle.
- In wraps or sandwiches – goes well with grilled vegetables or spicy fillings.